In this step-by-step guide, you will learn how to craft compelling property brochures that captivate and engage with your prospective clients.
Step 1: Understand Your Audience and Property
Before diving into the design process, it's essential to understand your target audience and the unique features of the property you're promoting. Are you targeting families, young professionals, or retirees? Is the property a cosy suburban home or a chic urban apartment? This insight will shape the design elements, colour palette, and tone of your brochure.
Step 2: Craft Compelling Content
Engaging content is the backbone of any successful property brochure. Write clear and concise property descriptions, highlighting its key features, amenities, and location advantages. Think of your content as the bridge between the property and the reader's imagination – make them envision themselves living there.
 Step 3: Visual Brilliance
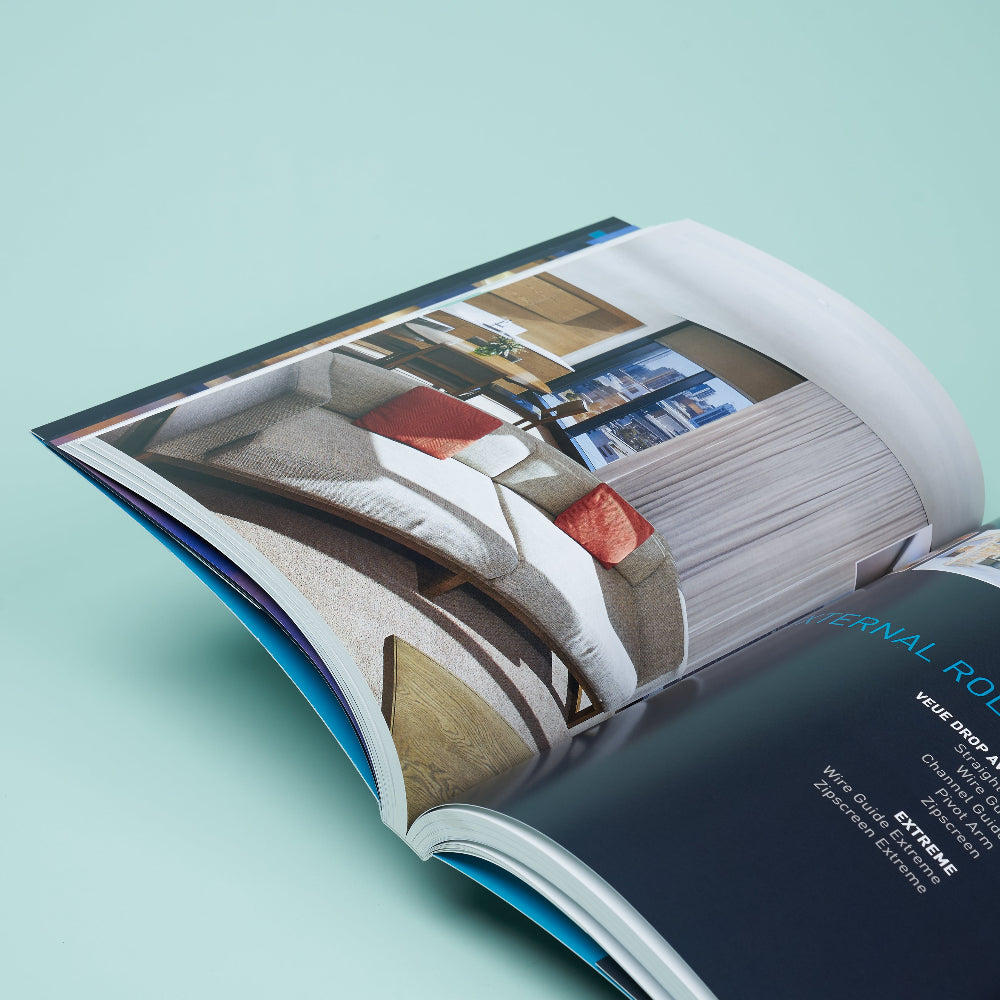
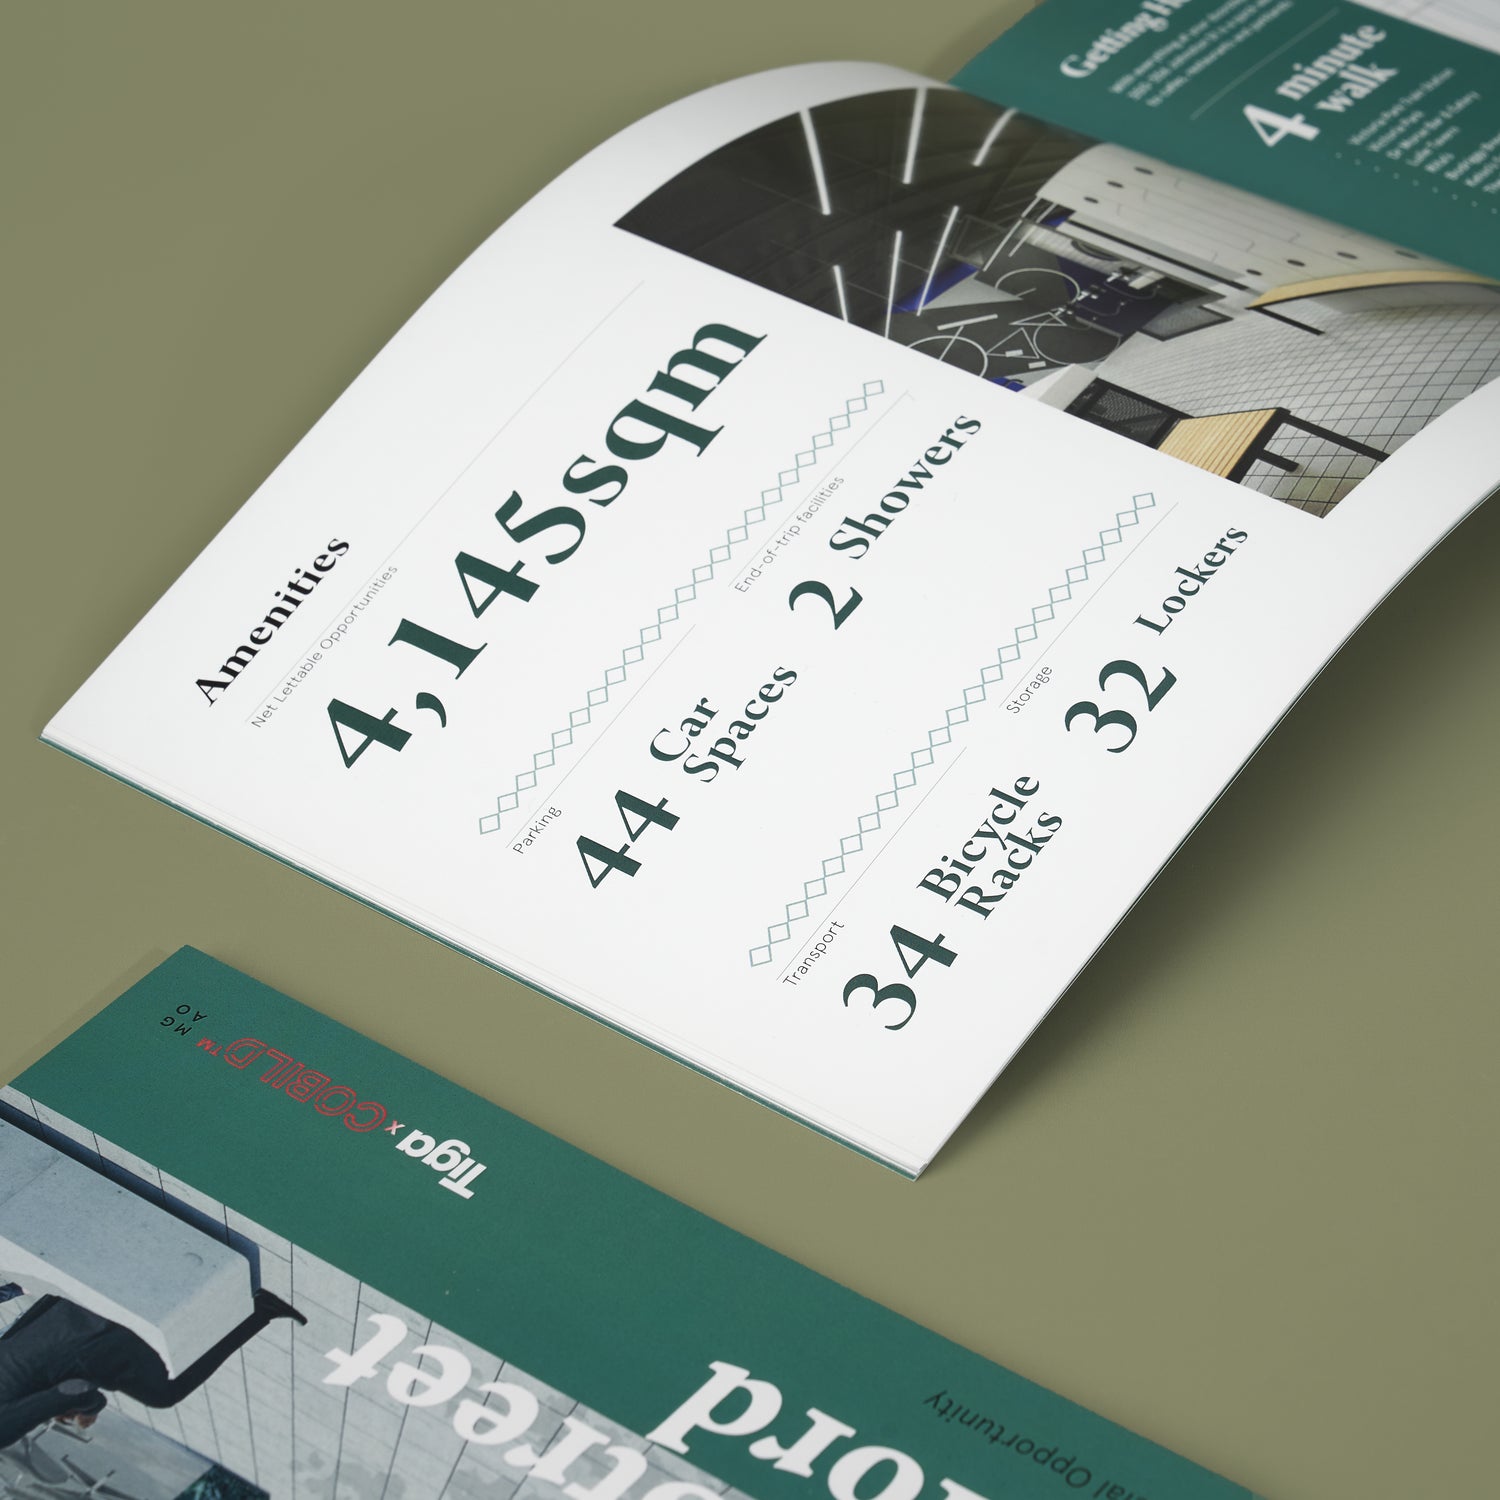
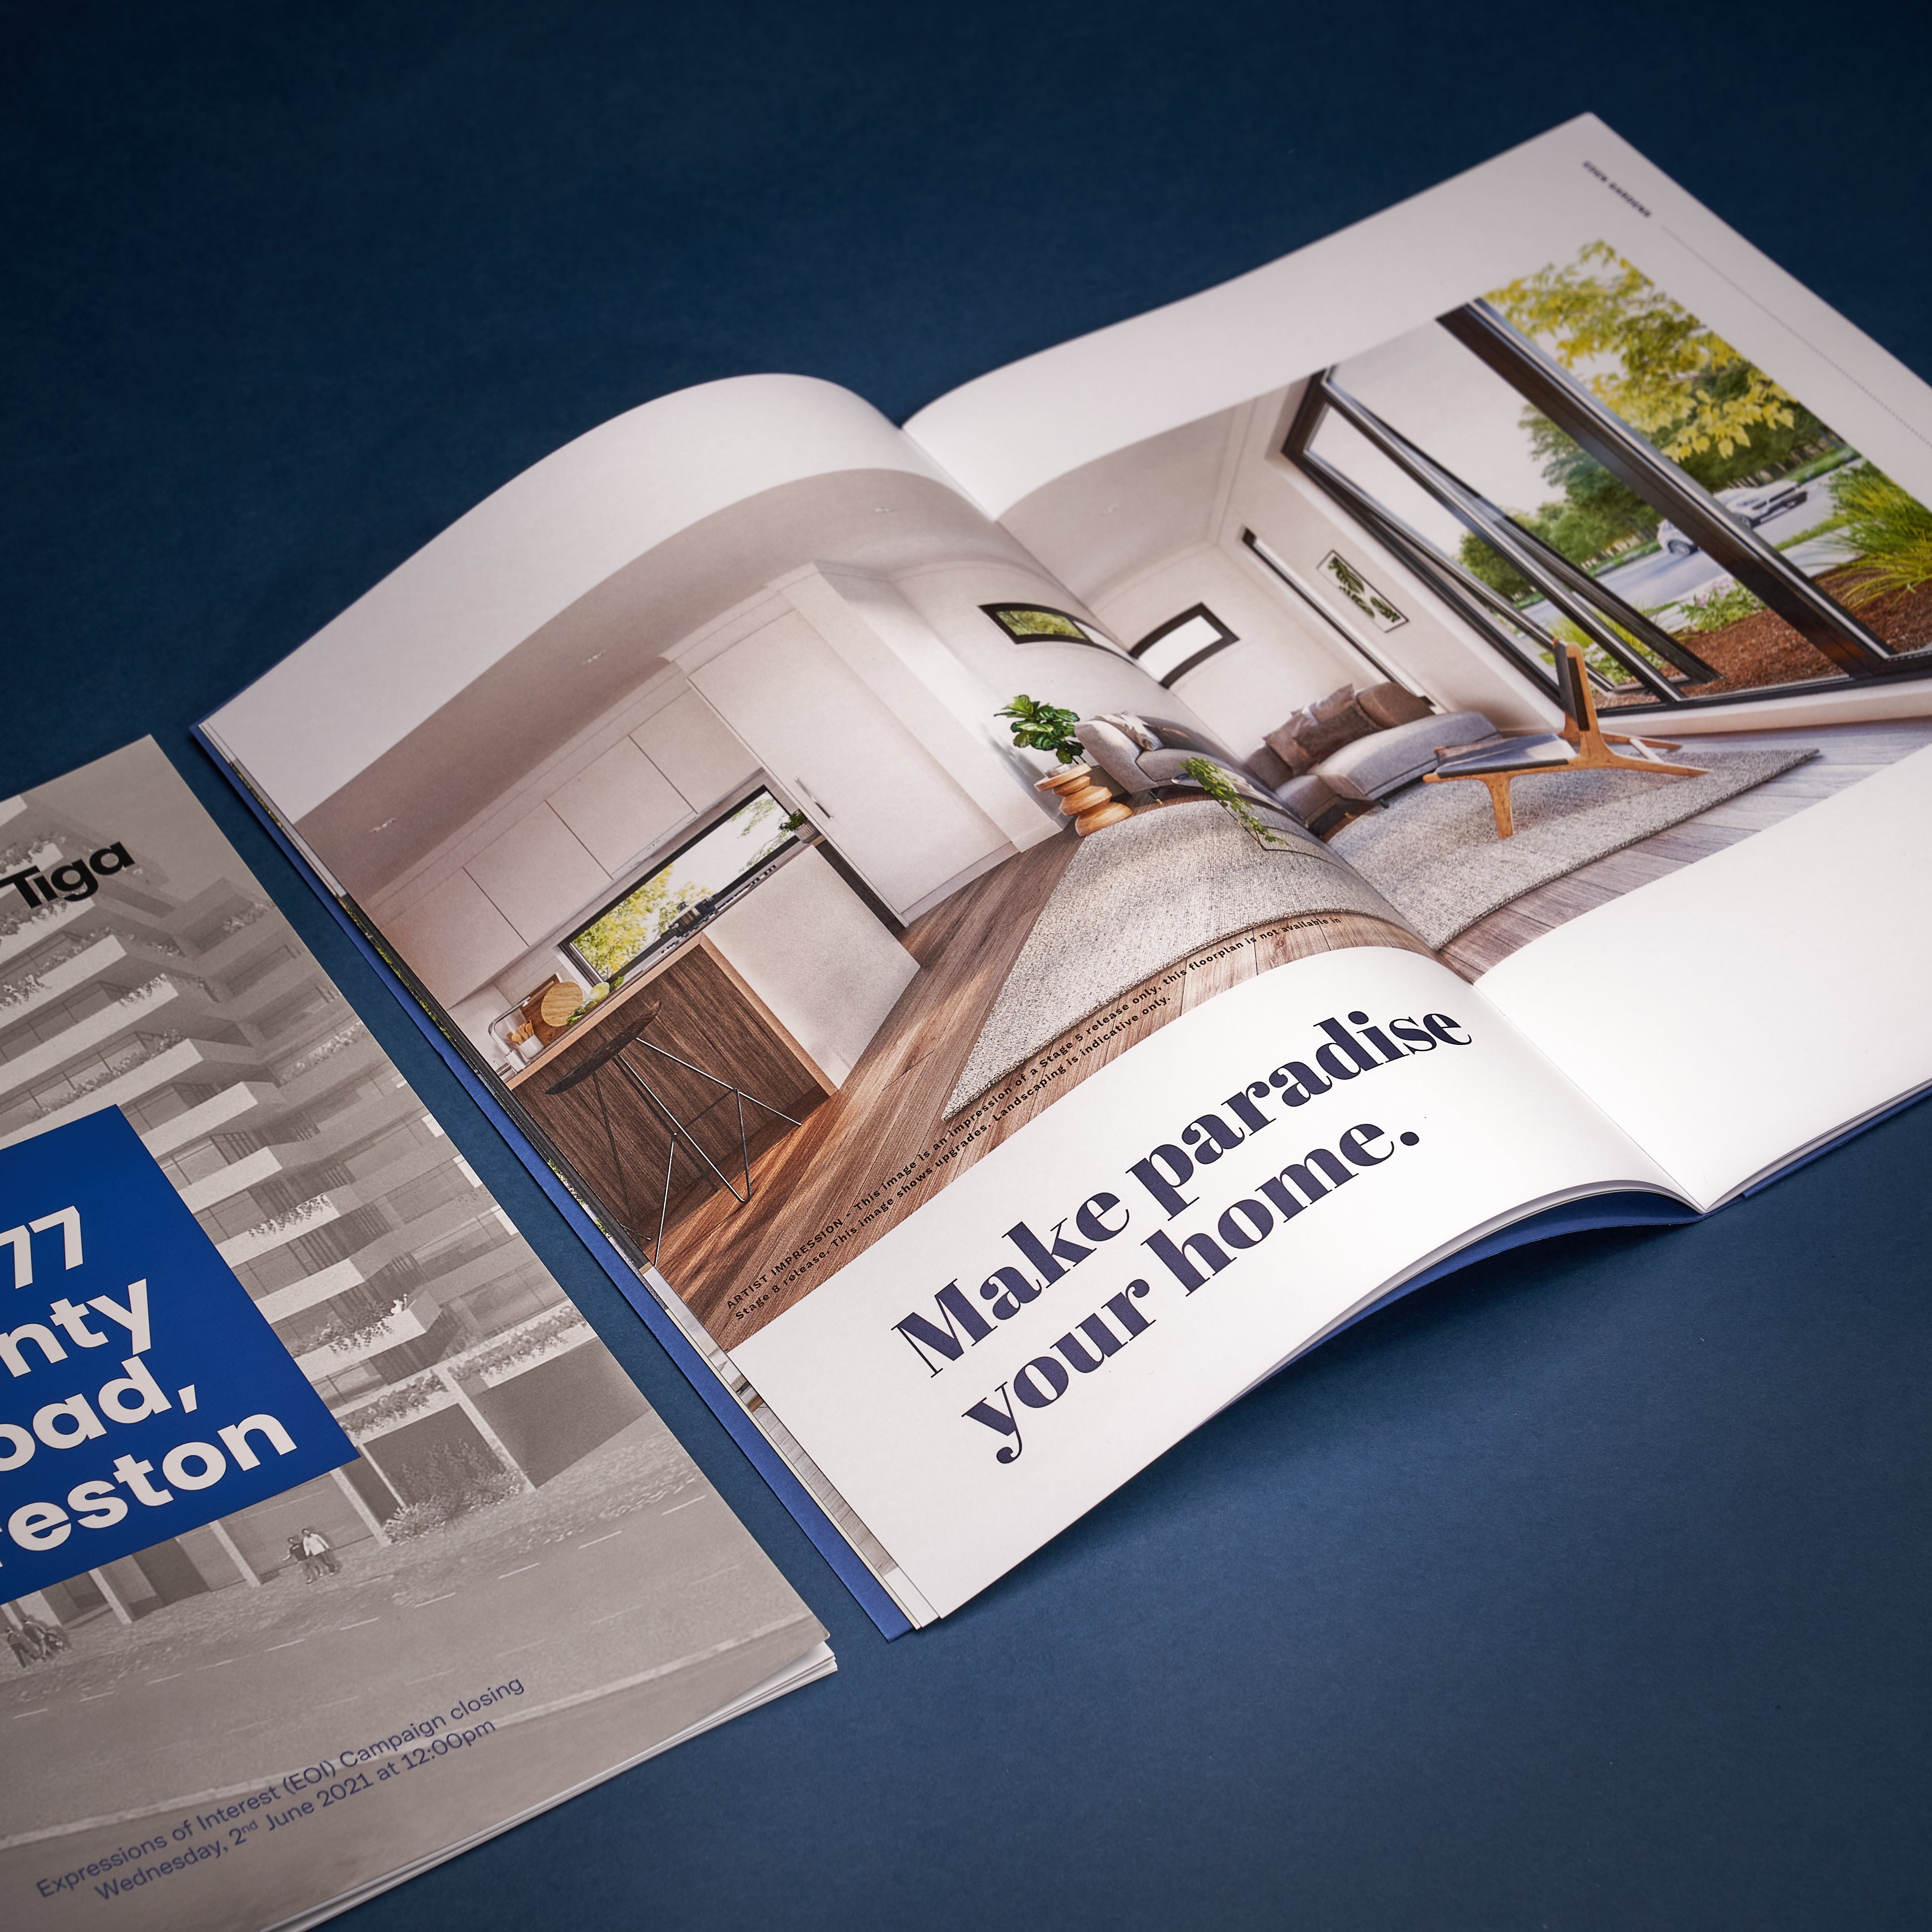
Now comes the design magic. Work closely with our professional graphic design team who can translate your vision into visually captivating layouts. Incorporate high-resolution images of the property, showcasing its interior, exterior, and unique selling points. Utilise a clean, cohesive design that emphasises readability and elegance.
Step 4: Choosing the Right Paper and Printing Finishes
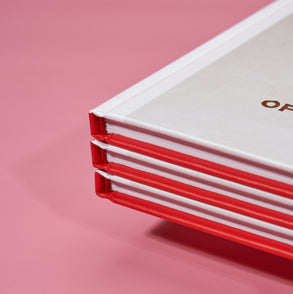
Your paper and finish choice matters. Partner with Half Price Printing's dedicated account managers to choose paper and finishes reflecting your vision. Feel the richness of high-quality materials, spotlighting your brand's elegance. From matte or gloss to lavish touches like embossing, foiling, or spot UV coating, heighten the real-world impact on potential clients. It's beyond print – an immersive journey that captivates and resonates.
 Step 5: Layout and Structure
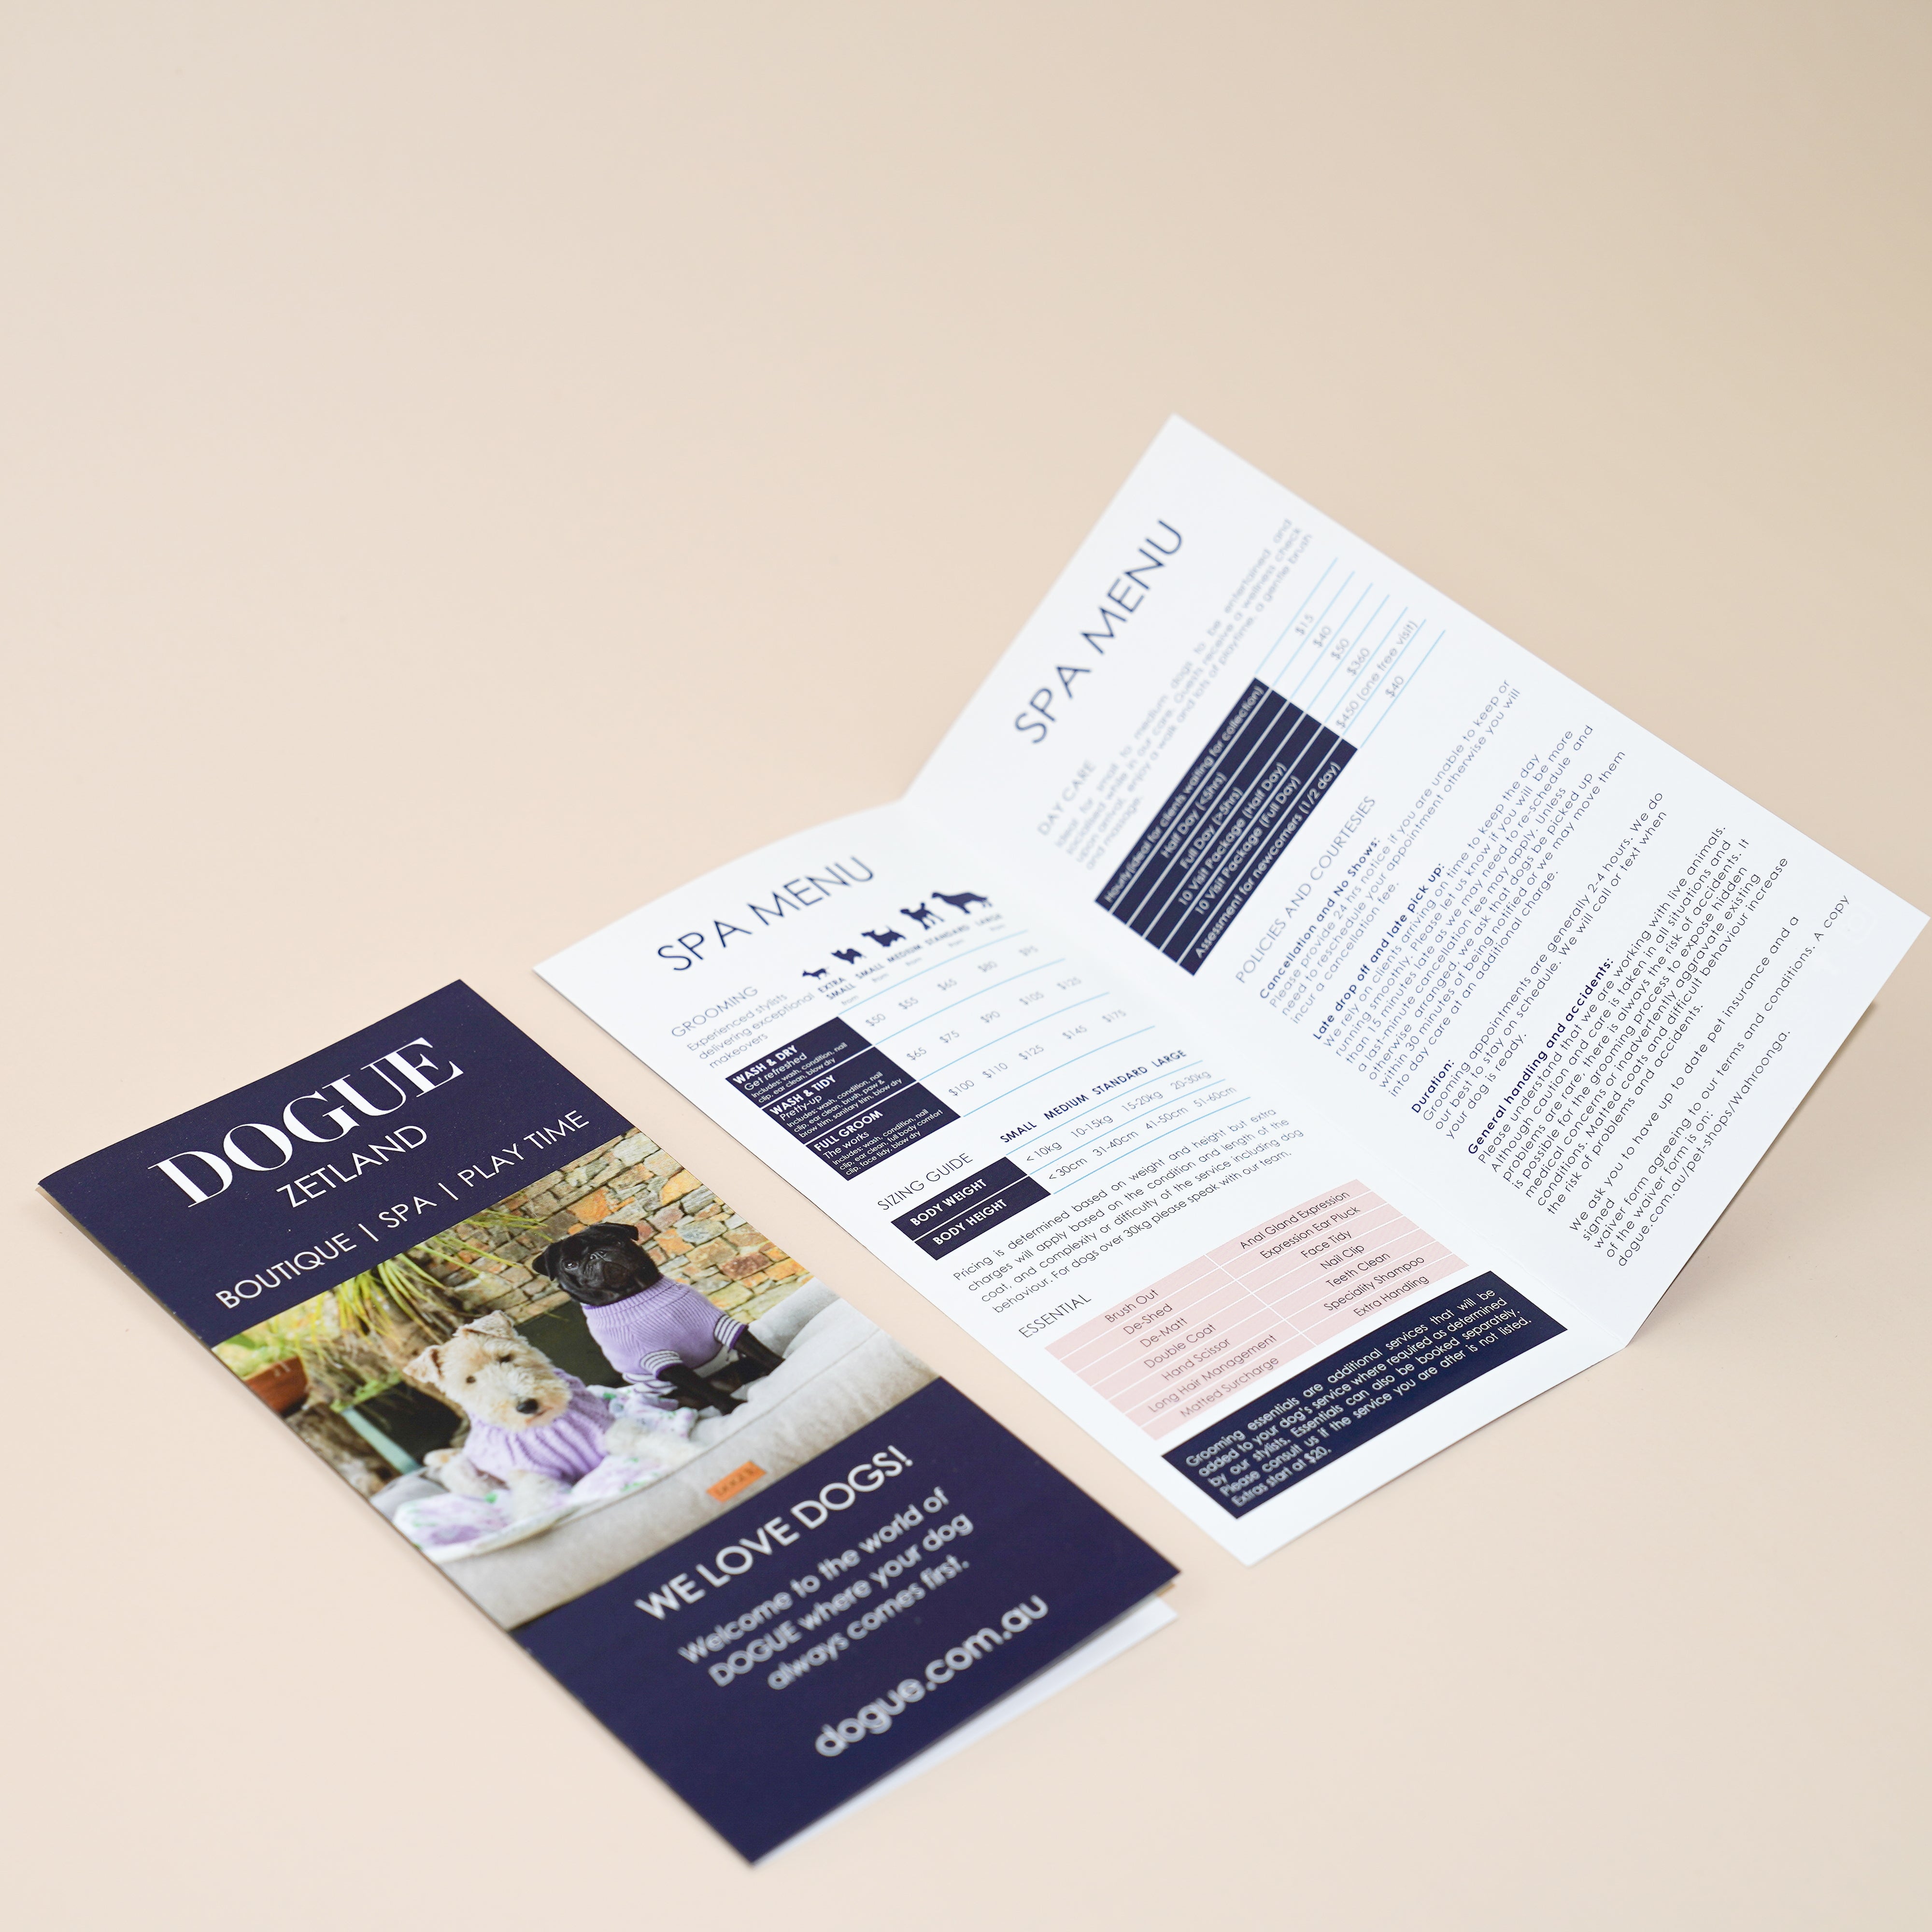
Your brochure's layout should guide the reader's eye seamlessly through the content. Use hierarchy to emphasise key information, such as property highlights and contact details. Divide the content into sections for easy navigation and incorporate well-defined headings and subheadings.
Step 6: Call to Action and Contact Information
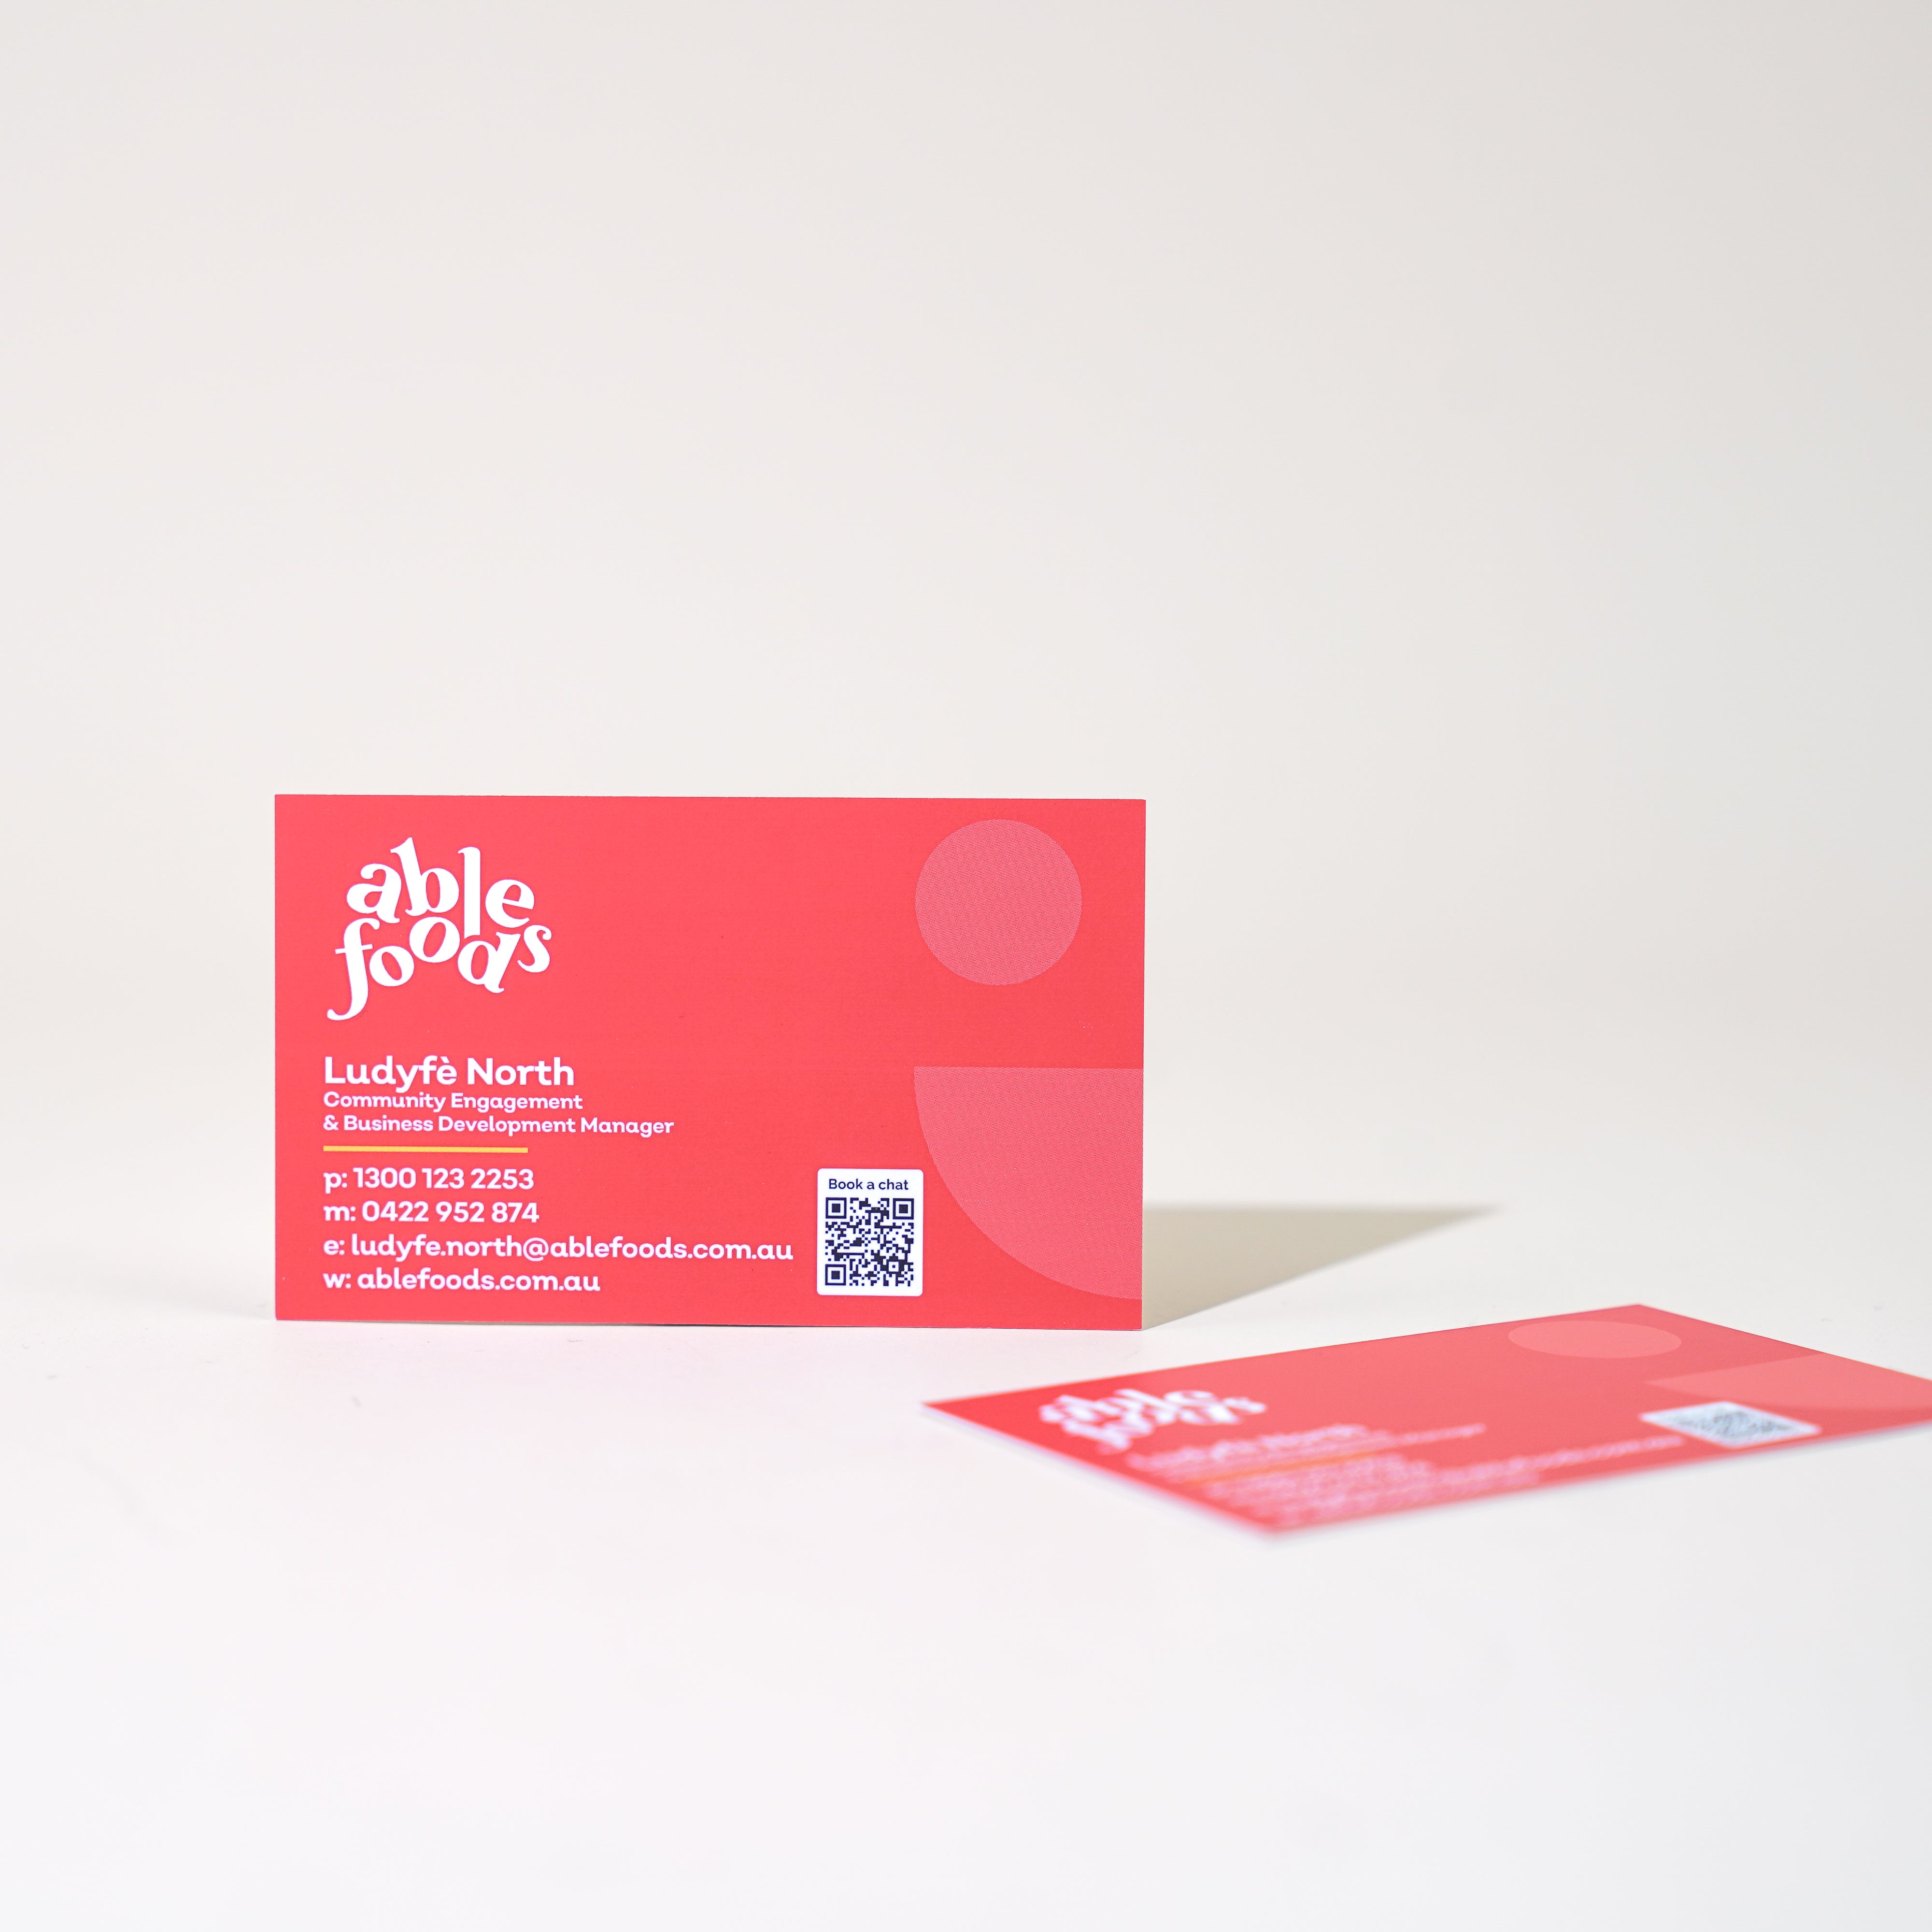
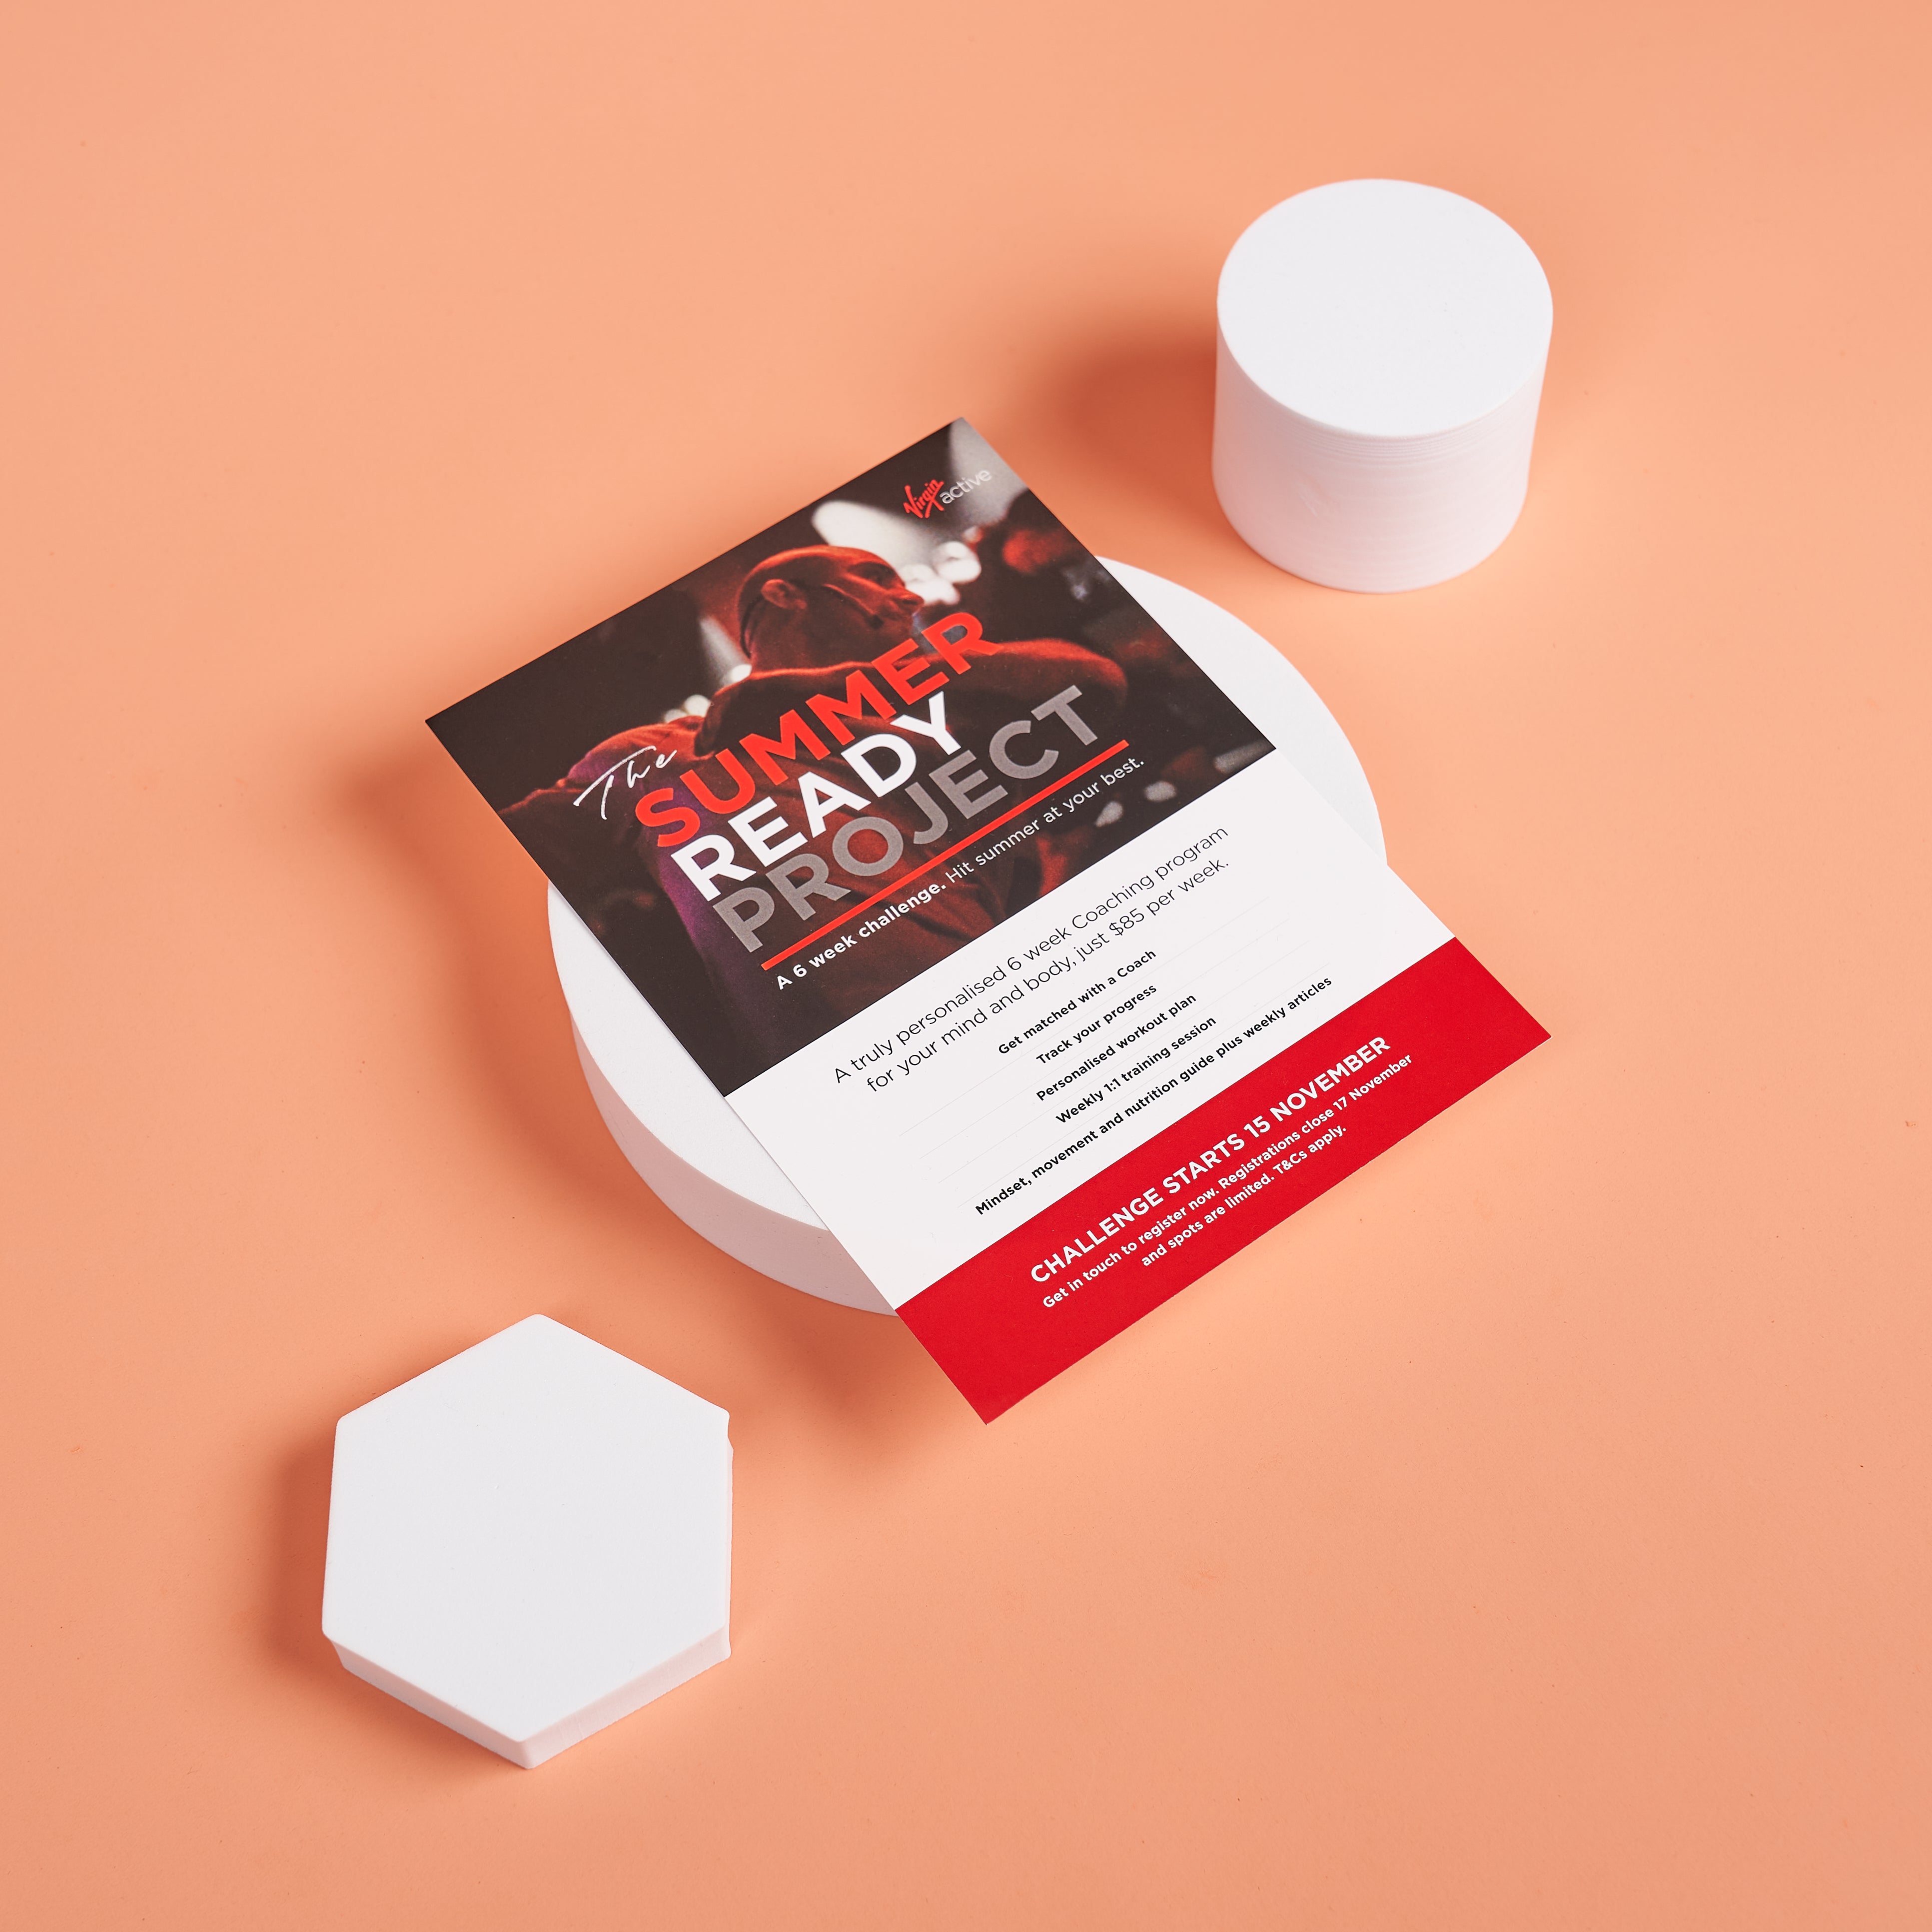
What is the next step you want your clients to take? Whether it's setting up a viewing, making enquiries, or driving traffic to your website, have a clear call to action. Feature your contact details prominently – from phone numbers and email addresses to social media handles. Additionally, integrate QR codes to enhance engagement and direct clients to additional information, walkthroughs or videos on your website.
Step 7: Proofreading and Final Touches
Before proceeding to printing, ensure your artwork is print-ready. You can find our guidelines and downloadable design templates here. Check your artwork for grammatical mistakes, typos, and inconsistencies. Pay attention to details like font sizes, colours, and alignment to ensure a polished and professional finish. For added assurance in print readiness, you can enquire with us to have our prepress team review and validate your artwork, ensuring it is primed for flawless print.
If you require any further assistance in getting ready for your open house success, get in touch with one of our experts.

